

Appointment View
In Appointments
Section titled “In Appointments”Appointment Colors is a feature that helps you visually group services. For example, you can use it to indicate appointments with a prepayment.
How to Configure
Section titled “How to Configure”To set a appointment color:
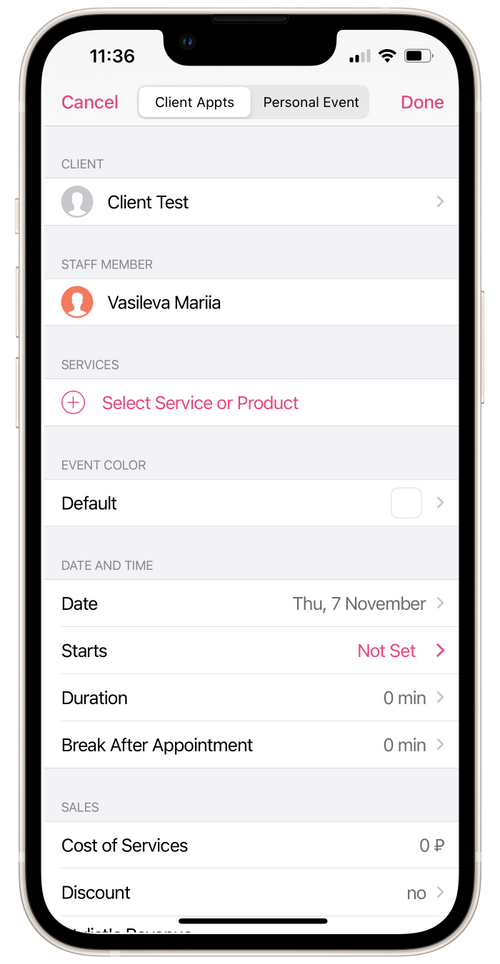
- Go to create an appointment through the Calendar or Free Time Slots.
- Fill in the fields for Client, Employee, and Services.
- Go to the Event Color field and select a color. Click Done. If the Default option is selected, the appointment will remain colorless in Day or Timeline mode but will appear in pink in Grid mode.
- Create the appointment.
💡 If the color-setting feature is unavailable, activate it by going to Settings → Booking View and toggling the switches to the active position.
For Services
Section titled “For Services”How to Configure
Section titled “How to Configure”To set a service color:
- Under the Settings → Services and Products go to the New Service card or open the editing of an existing service.
- Fill in the required fields.
- In the Service Color field, select a color and click Done. By default, no color is set.
- Save the service.
Display Order
Section titled “Display Order”If multiple services with assigned colors are added to an appointment, the appointment will be colored in the color of the first added service.
In Grid display mode, the border and line on the left of the appointment will be colored according to the appt’s color.
If services are linked to workplaces with assigned colors, they will appear as dots in the service list.