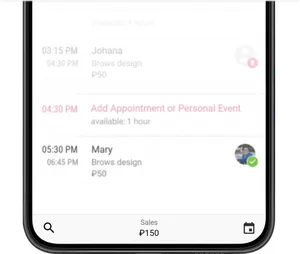

Schedule view
Open the calendar and choose your desired calendar view in the top part of the screen: Day, Week, or List.
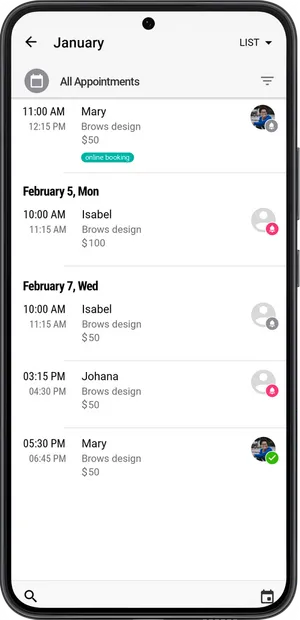
- In List mode, you can filter out appointments by business locations and category. If you have more than one location, tap on the location icon in the top right corner of the screen, and select a location. Then, tap All Appointments under the name of the month and elect a category: All Appointments, Canceled by Client, New Booking Requests, or Canceled Appointment History.
- In the Day view, appointments are displayed as a list on this particular date.
- In Week mode you can see all bookings in a week in one table. To view appointments for a specific location, tap on the location icon in the top right corner of the screen and select the location.
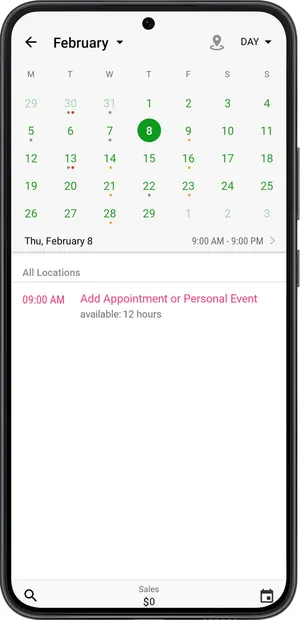
To display only current week in the schedule rather than the entire month, tap on the name of the month. The calendar will then convert to display the week.
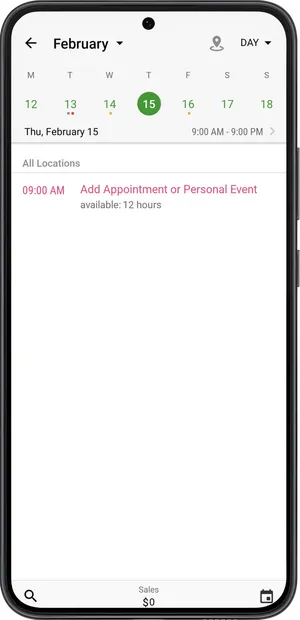
To view the schedule for a particular location, tape the location icon in the top right corner of the screen and select the location.
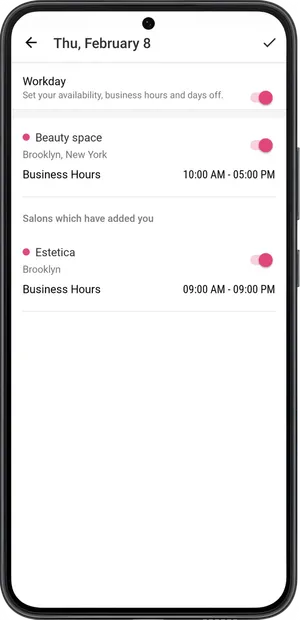
You can configure your work schedule for a specific date by tapping on the time interval to the right under the calendar. Make the selected date either a work or off day for one or all locations and save.
In the Calendar section, you can search by service, client, appointment, and location. The search is in the bottom left corner of the calendar screen.
In the bottom part of the calendar screen, the total sum of income from all the day’s appointments is displayed. New booking requests will displayed in the same place.
If you have been viewing appointments in the calendar for a different date and/or month, you can go back to the current day by tapping on the calendar icon in the bottom right corner of the screen.