

Create new appointment
Open the Calendar section and tap Add Appointment or Personal Event.
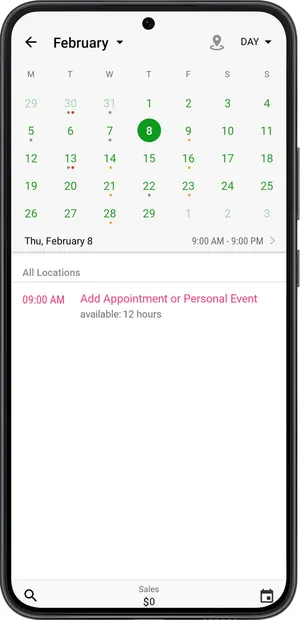
-
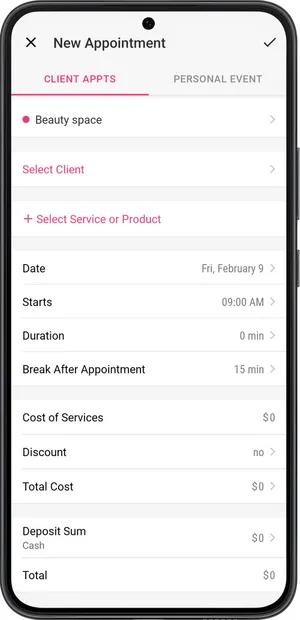
If you have more than one location, select the location where services will be provided.
-
Select a client.
In this screen you can choose from the full list of clients, from client groups, via search, or manually/from your phone contacts. On the same screen you can manage your client database - add new clients, create/delete client groups, edit group discounts, and copy contacts to your address book.
- Select service/product.
You can select more than one service/product. You can select services and products from your price list or create new ones. If the client has already been booked with you before, you can also select services and products for booking from the list From prior appointments. Please note: if you have made changes to your price list, services will always be taken with changes from the price list during client booking, not from the From prior appointments list.
- Configure the date and start time of the appointment.
If you have not already chosen a date in the schedule before creating a new booking, then tap on Date and choose a day via Calendar or the Available time slots section. After selecting the date, tap Starts and set the appointment start time.
- The duration will be set automatically after the services are selected.
If necessary, you can lengthen or shorten the duration.
- Add a break after the appointment.
If you have already set up a break after appointments under Settings → Online Booking Settings, the break will be added automatically after the services are selected. It can be lengthened or shortened as desired.
- You can add a discount to services if you wish.
If you have clients you have set up with personal or group discounts, those clients will have the discounts applied automatically when booking. If necessary, you can choose No Discounts under the Discount field.
- Add a sum of a deposit manually if the client has paid one. The deposit will be counted when the total cost is calculated.
- The Cost of Services field includes the total cost of all services you have added to the appointment.
- The Total Cost field includes the total cost of all services you have added to the appointment with applied discounts.
- The Total field includes the cost of all services you have added to the appointment with applied discounts and deposits.
- Configure client reminders.
You can turn client reminders off and on, set up the time when they are sent, or add new reminders. If you have already set up client reminders under Settings → Client Reminders & Notifications → Text Reminders Templates → Upcoming Appointment, then you don’t need to do it when creating a new appointment. You can just add additional reminders as desired.
-
Add notes if necessary.
-
Save.
The appointment you have created will appear in the calendar. Immediately after its creation, you will be offered to send a notification text to the client. You can send this message immediately, postpone, or delete it.